
We got the parts from ecas who provided an excellent service as usual with prompt delivery making up for my inability to think about buying parts until the weekend nears. I bought new discs and pads, plus a few extra bits and bobs. I didn't expect to have to fix or replace any part of the calipers.
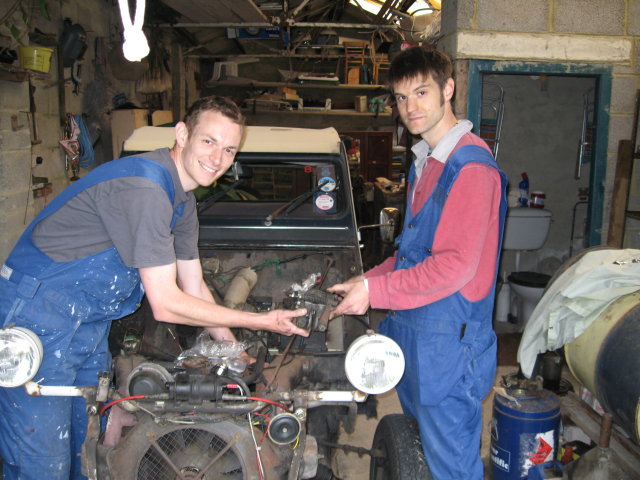
Now that we're relative "experts" in poking around 2cvs, with her up on axle stands we wasted no time getting taking off the bonnet, wings, heater ducts, starter motor and air filter assembly to get better access into the engine bay. It may take extra minutes at the start and end, but saves a lot of time when doing the job. For getting to the calipers and discs they're all pretty much essential to remove anyway.
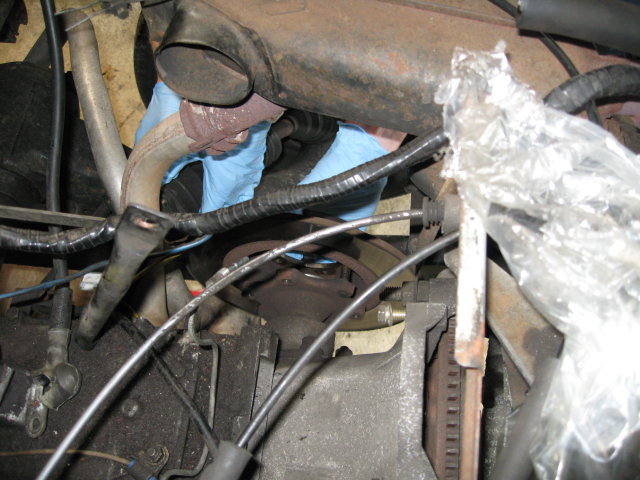
For the job we followed the instructions in the Haynes manual, and think it's worth making a note about the calipers. We were very careful as we wanted to keep the calipers in one piece. There are two (long) bolts securing the caliper and you have to undo the rear bolt and very slightly loosen the front bolt so you can pivot the caliper forwards and refit the rear bolt (tight) with a spare nut. Here's a picture of the caliper tilted forward with the spare nut tightened on - my (blue) index finger is pointing out the bolt.

This caliper is ready to remove now as the rear bolt will hold it together now and stop it separating in two. Here's the unit off the car.
Once the caliper is out getting the disc out is easy.
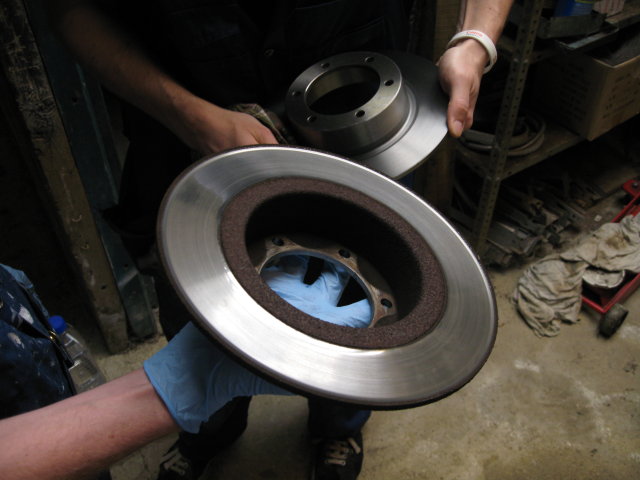
Here's an attempt to show how worn the old discs were. Ross is holding the new disc behind.
So the hardest bit turned out to be checking the run-out on the discs when they go back on. We fashioned our own method to do this, as we didn't have a dial gauge. As suggested in the Haynes, we rotated the discs around when the run-out wasn't acceptable and found a position for both discs that was good enough.
We put the calipers back on without pads in. Fitting was a perfect reversal of removal, securing the first bolt, removing the extra nut and then carefully rotating the caliper into position and securing the rear bolt. We used a torque wrench with the required settings on the caliper bolts and the drive shaft / brake disc bolts. We realised then that we should have drifted the shoes apart in the calipers before refitting to make it easier to get the pads back in, but managed ok thanks to some tricky work by Ross.
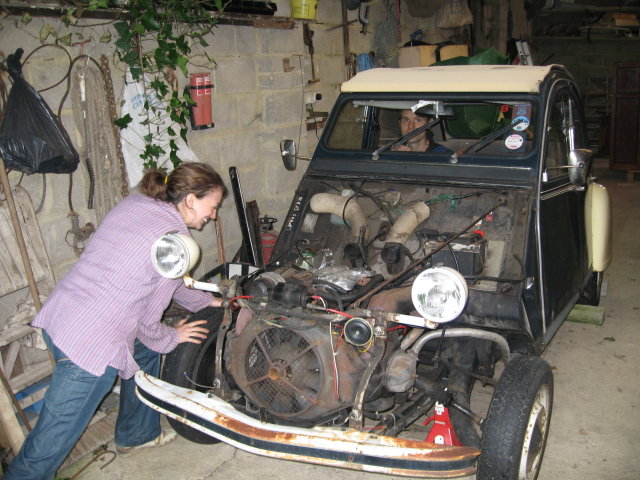
Once the pads were in we gave it some gentle testing to make sure that they were floated back right and engaging cleanly on the disc. Laura's giving it all she's got!
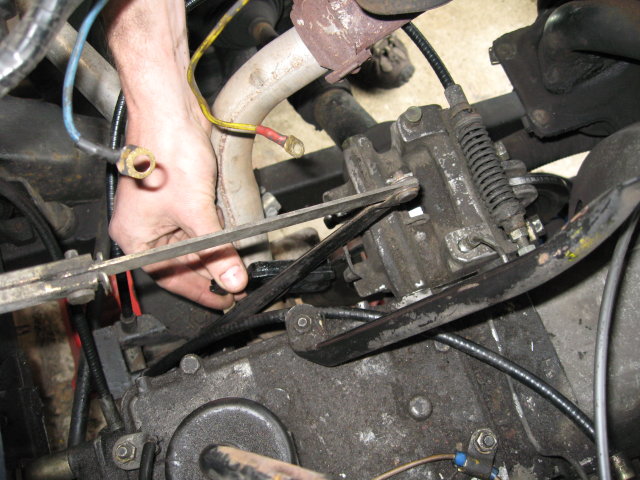
What remained then was the joy of getting the handbrake elliptics right. They had to be complete slackened anyway to get the caliper back on to the new disc and then it was a case of following the manual again and rotating them into position. As usual a bit of a fiddle, but a LOT easier than it had been last time I tried as we had a lot more disc to play with! :)